| Transparent bubble |
We will carry out a transparent bubble integrating an alpha layer
( containing transparency informations ).
The image obtained will be exported with png format, to preserve all its properties,
and could thus be re-used as layer on another image.
Start by download the following image, and record it in the Masks folder of PhotoFiltre.

|
|
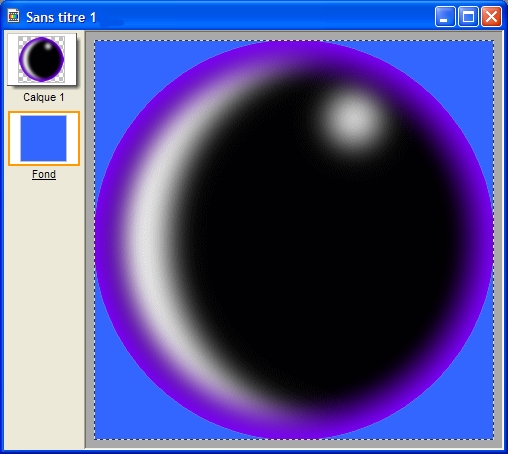
| A. Creating the layer | |

|
1. Open a new image of 400 x 400 pixels 2. Right click / Select all ( or CTRL + A ) 3. Right click / Set shape / Ellipse 4. Right click / Duplicate |
| B. Applying the mask | |
 |
5. Show selection ( CTRL + D ) 6. Launch PhotoMasque and open the 'boule021.gif' mask - Menu Filter / PhotoMasque - Switch in negative mode ( black ball / white ground ) - Opacity 100 - Black - Color mode - Uncheck : Blur - Check : Stretch mask - Result opposite 7. Apply a Progressive contour - Menu Filter / Stylise / Progressive contour - Width 40 - Opacity 100 - Color R 128 - G 0 - B 255 - Uncheck Outside - Check Blur |
| C. Background coloration | |
 |
8. Right click on the selection / Set shape / Rectangle 9. Activate background layer - Right click / Stroke and fill - Choose a bright color : Blue R 0 - G 128 - B 255 - which will emphasize the semi-transparent parts 10. Right click on the selection / Set shape / Ellipse 11. Activate Layer 1 - Right click on the selection / Copy |
| D. Creating transparency | |
 |
12. Right click on the Layer 1 thumbnail - Paste as Alpha channel
13. Show selection ( CTRL + D ) 14. Launch PhotoMasque and open the 'boule021.gif' mask - Menu Filter / PhotoMasque - Positive mode ( white ball / black ground ) - Opacity 80 - White - Color mode - Check : Stretch mask + Blur - Result opposite |
| E. Spherization | |
 |
15.
Menu Filter / Deform / Spherize / Lens - White background - Amount 7 16. Menu Selection / Contract - Width 2 17. Right click / Crop layer - Show selection 18. Launch PhotoMasque and open the 'boule021.gif' mask - Menu Filter / PhotoMasque - Negative mode ( black ball / white ground ) - Opacity 80 - White - Color mode - Check : Stretch mask + Blur - Result opposite |
| F. Saturation and antialiasing | |
    |
19. Right click on Layer 1 thumbnail / Manual settings - Switch units as % - Width 66 % - Automatic centered 20. Right click on Layer 1 thumbnail / Duplicate twice - we have now 3 layers - make invisible Layer 3 21. Left click on Layer 2 thumbnail / Blend mode - Select "Saturation" in the list - Result opposite 22. Right click on Layer 2 thumbnail / Merge with previous 23. Right click on Layer 3 thumbnail / Visible / Blend mode - Select "Maximum" in the list 24. Right click on Layer 3 thumbnail / Merge with previous - Result opposite |
| G. Shadowing | |
 |
25. Right click on Layer 1 thumbnail / Options... - Drop shadow - Delta X=4 Y=5 - Black Color - Opacity 40 - - Style Antialiased 26. Right click on Layer 1 thumbnail / Merge shadow 27. Menu Layer / Export Layer / Format PNG (32 bits) |
| Click here to see the final result ! | |
![]()
Copyright Benthai © 2006 Page-setting : Tom